
How to Choose the Right HSS Heat Shrink Sleeve?
Choosing the right Hss Heat Shrink Sleeve starts with understanding the job it must do. The term “HSS” can refer to different products or applications, so confirm its meaning with the supplier before comparing options. A sleeve designed for one setup may not suit another. Check the product data sheet, not just the product photo.
Begin with the dimensions. Measure the component’s outside diameter and the sleeve’s supplied and recovered diameters. Then check the stated shrink ratio and wall thickness. A close fit matters. Too much looseness can weaken protection, while an undersized sleeve may be difficult to install or damage during fitting. Consider the working temperature, exposure to oil or abrasion, and how often the assembly will be handled. These details often reveal more than a broad label such as “heavy duty.”
Material matters, too. Different polymers tolerate heat, chemicals, and wear differently. Match the material to the actual operating conditions, and follow the maker’s installation temperature and heating guidance. Do not assume that a higher temperature rating is automatically better; compatibility still matters. If the sleeve is intended for HSS cutting tools or heat-shrink tooling, verify that specific use with the manufacturer. Ask for test data or a sample when the application is critical. A tidy fit can be misleading. It may look right and still perform poorly after repeated heating. Comparing verified specifications, rather than choosing by appearance or price alone, makes the decision more dependable.
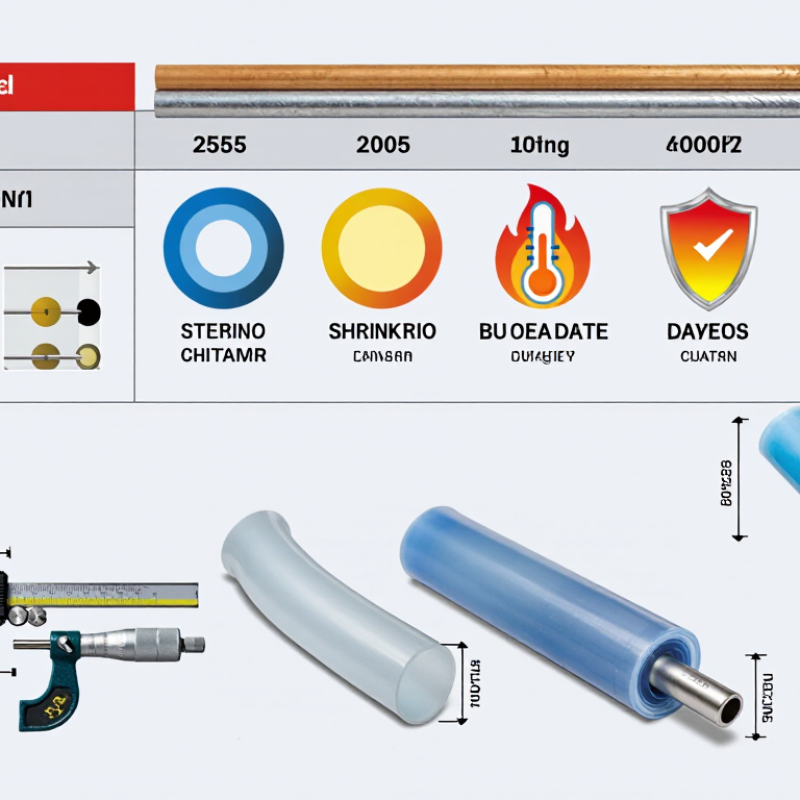
Identify the Purpose and Operating Conditions of the HSS Sleeve
Before selecting an HSS, define what it must protect: electrical insulation, abrasion resistance, moisture sealing, or cable bundling. Then record the actual service conditions, including voltage, continuous temperature, brief heat peaks, chemicals, outdoor exposure, and movement. Small details matter.
ASTM D2671-21 outlines test methods for heat-shrinkable tubing used in electrical applications, including checks related to physical and electrical performance. IEC 60684-2:2011 also specifies test methods for flexible insulating sleeving. These references help compare test evidence; they do not establish one safe rating for every sleeve.
Measure the component’s largest diameter and the smallest diameter the sleeve must recover around. A 2:1 shrink ratio means the sleeve’s supplied diameter is twice its fully recovered diameter, but fit also depends on wall thickness and shape. Check the manufacturer’s rated temperature range and chemical-resistance data against the real installation, not just room conditions.
For example, a sleeve near an engine may face heat, oil, vibration, and sharp edges together. That combination is easy to underestimate.
Also confirm the installation temperature and available clearance for a heat gun or oven. One point worth reconsidering: selecting by diameter alone may look efficient, yet it can leave the assembly poorly protected under its actual operating conditions.

Match Sleeve Material to the Cable and Environment
How to Choose the Right HSS Heat Shrink Sleeve?
Match Sleeve Material to the Cable and Environment
Start with the cable jacket, then check the sleeve’s temperature, fluid, and abrasion ratings. Polyolefin suits many general electrical jobs, but oils, fuels, and sustained heat may call for fluoropolymer or another specialist material. Compatibility matters: a sleeve can shrink neatly yet still soften, crack, or stress the cable insulation. Check the sleeve and cable datasheets together.
Use published ratings, not assumptions. UL 83 lists THWN-2 conductors for service up to 90°C in wet locations; that rating applies to the conductor construction, not automatically to an added sleeve. SAE AS23053 specifies performance requirements for heat-shrinkable tubing, while IEC 60684-2 describes test methods for flexible insulating sleeving. Match the actual product’s tested limits to the cable’s environment. A damp enclosure, sharp metal edge, or cleaning fluid can change the choice. Small details count.
Select the Correct Sleeve Diameter and Shrink Ratio
Choosing the right HSS heat shrink sleeve starts with measuring the part, not guessing from its cable size. Measure the largest point the sleeve must pass over, such as a connector shoulder, then check the diameter where it will sit after shrinking. The sleeve’s supplied diameter should clear the largest point comfortably. Its recovered diameter should fit snugly around the smaller section. Measure twice.
Shrink ratio describes how much the sleeve can contract. A 2:1 ratio means its starting diameter is roughly twice its fully recovered diameter; it does not guarantee a perfect fit on every shape. Compare the sleeve’s stated recovered diameter with your measured part, and allow for ridges, seams, or uneven surfaces. A sleeve that is too small may not slide over the connector, while one that is too large may recover loosely.
Check the product data sheet for dimensional tolerances and recovery conditions. The material, wall thickness, and heating method can affect the finished fit. Test a short sample on the actual assembly when possible. A neat fit on paper can still wrinkle around a sharp transition, and that is easy to overlook. If the sleeve must cover multiple diameters, confirm that its recovery range suits both ends rather than relying on the ratio alone.
How to Choose the Right HSS Heat Shrink Sleeve? — Select the Correct Sleeve Diameter and Shrink Ratio
| Application Example | Shrink Ratio | Expanded Sleeve Inside Diameter | Approx. Recovered Inside Diameter | Target Diameter Range | Sizing Check |
|---|---|---|---|---|---|
| Small cable or narrow component | 2:1 | 3 mm | 1.5 mm | 1.8–2.7 mm | The expanded sleeve is larger than the target’s maximum diameter, while the recovered diameter is smaller than its minimum diameter. |
| Medium cable bundle or component | 2:1 | 6 mm | 3 mm | 3.6–5.4 mm | Choose this size when the sleeve must pass over the largest section and recover snugly around the smallest section. |
| Larger cable bundle or component | 2:1 | 12 mm | 6 mm | 7.2–10.8 mm | A 2:1 ratio suits applications where the diameter variation is moderate. |
| Component with a wider diameter variation | 3:1 | 9 mm | 3 mm | 4–8.1 mm | The greater shrink range can help a sleeve fit over a larger section and recover around a smaller one. |
| Component with a large diameter variation | 4:1 | 12 mm | 3 mm | 4–10.8 mm | Consider a higher ratio when the sleeve must cover a substantial step or size difference. |
Compare Performance Ratings and Product Specifications
How to Choose the Right HSS Heat Shrink Sleeve?
Compare Performance Ratings and Product Specifications
Choose an HSS sleeve by matching its ratings to the cable, joint, or component it must protect. Start with the required recovered diameter and shrink ratio. The sleeve must fit over the largest part and shrink snugly around the smallest. Fit matters. Then check the specified recovery temperature and the continuous operating temperature. These describe different conditions: one is used during installation, while the other applies in service.
Compare wall thickness, dielectric strength, tensile strength, and resistance to abrasion, moisture, or chemicals. Look closely at how each rating was tested; values from different methods may not be directly comparable. If the application needs a moisture barrier, check whether the sleeve has an adhesive lining. A specification sheet can still leave questions about real installation conditions, so verify critical details with the supplier’s technical documentation.
Tips: Measure the actual component, including connectors and irregular edges. Allow room for installation tools, but do not rely on a nominal size alone. Check the full temperature range, not just the highest value. If two products appear similar, compare their test conditions and recovered dimensions side by side. A small mismatch can affect coverage, sealing, or long-term protection.
How to Choose the Right HSS Heat Shrink Sleeve?
Compare typical maximum continuous-use temperatures for common heat-shrink sleeve materials.
These indicative upper temperature ratings vary by formulation and product specification. Choose a sleeve rated above the application’s continuous operating temperature, then check recovery ratio, recovered wall thickness, chemical exposure, and fit against the product datasheet.
Verify Installation Requirements and Supplier Quality
Choosing an HSS heat shrink sleeve starts with the actual joint, not the catalogue photo. Record the pipe or cable diameter, substrate, operating temperature, and exposure to moisture or chemicals. Confirm sleeve width, recovery ratio, overlap, preheat range, and tool limits against written installation instructions. Small misses matter. AMPP’s 2016 IMPACT study estimated the global cost of corrosion at US$2.5 trillion annually, about 3.4% of global GDP. That figure makes careful protection and installation checks worthwhile.
Tips: Ask for a lot-specific certificate of conformity, dimensional inspection results, and test data for adhesion, aging, and water resistance. Check a sample for even recovery, wrinkles, and exposed edges. Keep the batch number with installation records.
Supplier quality needs more than a certificate. Request traceability, calibrated inspection records, and test results tied to the relevant product specification. An ISO 9001 certificate can indicate documented process controls, but it does not prove that a sleeve suits your application. Confirm that the supplier’s test methods match the project requirements, and clarify who is responsible for surface preparation and installation. A checklist can still miss a site-specific issue, so record any deviation before work begins.

