
How to Choose the Best SDS Plus Hammer Drill?
Choosing the right Sds Plus Hammer Drill is about more than comparing power ratings. The bit must fit the job. The tool must feel controlled in your hands. A drill that is too heavy can turn a short overhead task into tiring work; one with insufficient impact energy may struggle with dense concrete.
Industry reports offer useful context, though not a shortcut to a buying decision. Grand View Research’s Power Tools Market analysis tracks demand across professional and consumer applications, reflecting the range of users these tools must serve. For product-level comparisons, Bosch Professional’s SDS-plus specifications describe a 10 mm shank interface, a practical detail when checking bit compatibility. Small details matter.
Compare impact energy, speed control, vibration management, weight, and service support. Then consider the actual work: drilling anchor holes in a concrete wall differs from occasional masonry repairs at home. Published specifications help narrow the options, but they cannot tell you how a tool balances or feels after an hour of use.
A verified quotation from a named SDS Plus Hammer Drill expert was not provided, so I won’t invent one. That matters. A credible guide should distinguish manufacturer specifications from independent test results and personal experience. The best choice is not always the most powerful model; it is the one whose performance, handling, and compatible accessories match your tasks.
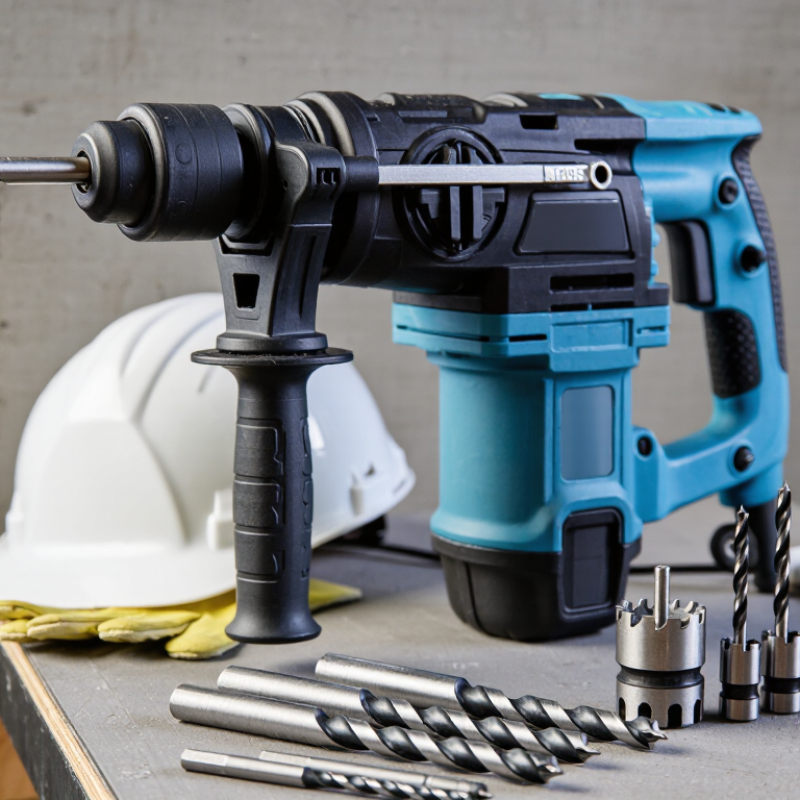
Identify the SDS-plus Standard: A 10 mm Shank Defines Tool Compatibility
Before comparing power, weight, or vibration control, check the chuck standard. SDS-plus tools use a nominal 10 mm shank with grooves that lock into a matching chuck. The chuck grips the bit while allowing it to move back and forth during hammering. That movement helps transfer impact into concrete or masonry. It also means a smooth, round-shank bit is not a direct substitute.
Check the drill’s manual or the markings near its chuck. An SDS-plus bit should slide in and lock without being forced; a light pull should not release it. A standard three-jaw chuck is built differently. Some drills accept adapters, but an adapter can add length and reduce stability. For regular work in brick, a compatible bit is usually the simpler choice. Small mismatch, real hassle.
The 10 mm figure identifies the shank size, not the bit’s cutting diameter. A 10 mm shank can carry a much wider masonry head, so choose the working diameter separately. SDS-plus is also different from larger hammer-drill shank systems, which will not fit its chuck. It is easy to focus on motor ratings and overlook this basic fit. I would still verify the exact model’s manual, because product descriptions can be vague. A secure fit matters more than a tempting specification.

Match Drill Capacity to the Job: Many SDS-plus Models Drill up to 26 mm
For an SDS-plus hammer drill, a 26 mm rating usually describes its maximum drilling diameter in concrete, not its ideal everyday workload. If you regularly fit small anchors or drill 8–12 mm holes, a lighter model may feel easier to control. For wider holes, check the stated capacity and use a suitable masonry bit. Concrete density, aggregate, bit condition, and drilling technique all affect the result. That matters. Near its limit, a drill may work more slowly and demand steadier handling.
I find capacity figures easy to overread: the largest listed hole is not automatically the best target for repeated work. For a few 26 mm holes, the rating may be useful; for frequent large holes, compare the tool’s impact energy, weight, and recommended duty cycle. Not every day. Think about the wall in front of you: a short hole for a fixing differs from a deep pass through dense concrete. Keep the bit straight, clear dust as directed, and pause if the tool or bit becomes unusually hot. A little extra capacity can help, but carrying a heavier drill for small jobs can be tiring. Check the manual’s limits before choosing.
Compare Performance Ratings: Impact Energy (J), Blows per Minute, and RPM
When comparing SDS Plus hammer drills, read impact energy, blows per minute, and RPM together. Impact energy, measured in joules, describes the force delivered by each strike. It matters when drilling dense concrete or making wider holes. More joules can help, but ratings may use different test methods, so figures are not always directly comparable. Check the manual’s recommended bit sizes, too.
Blows per minute (BPM) shows how often the mechanism strikes. A high BPM can support steady progress in masonry, but it does not guarantee faster drilling. Bit condition, concrete hardness, and the operator’s pressure all affect results. Don’t lean on the tool too hard. On a renovation job, a drill may slow noticeably when a worn bit meets a hard aggregate patch.
RPM measures rotational speed. It influences how quickly the bit turns, especially in rotation-only tasks with a suitable bit and setup. High RPM is not automatically better for hammer drilling; the right speed depends on the bit diameter and material. Numbers need context. Compare tools using similar operating modes and realistic hole sizes, then consider vibration, weight, and control. I’ve found that spec sheets make this part look cleaner than it feels on site.
Choose Operating Modes: Rotation, Hammer Drilling, and Chiseling
Rotation-only mode suits wood or metal when the correct accessory is fitted; use a suitable chuck if required. Hammer drilling combines rotation with impact for brick and concrete. Chiseling stops the rotation, letting the bit chip tile adhesive or shape a small channel. Match the mode to the surface, not just the tool’s power. On a test patch, listen for a steady impact and watch for the bit wandering.
Mode choice also affects exposure. The UK Health and Safety Executive’s Hand-arm vibration at work guidance sets a daily exposure action value of 2.5 m/s² A(8) and a limit value of 5.0 m/s² A(8). These are exposure thresholds, not guarantees that a particular drill is safe for any duration. Check the tool’s vibration information, use a firm but relaxed grip, and take breaks. I have found that forcing a blunt chisel often creates more vibration and poorer control; it is an easy mistake to miss.
Tips: Switch off hammer action for delicate drilling. Use rotation-stop only with a chisel designed for the tool. Keep the bit aligned, clear dust from the hole, and stop if the housing or accessory becomes unusually hot. Feel the difference.
How to Choose the Best SDS Plus Hammer Drill: Operating Modes
How to read the chart: 1 means the function is active; 0 means it is inactive. Rotation mode suits ordinary drilling, hammer drilling combines rotation with percussion for masonry, and chiseling uses percussion with bit rotation stopped. Available modes and controls vary by drill, so check the tool’s specifications.
Check Handling and Safety: Weight, Vibration Ratings, and Side-Handle Design
An SDS Plus hammer drill may look manageable on a shelf, but its weight feels different when you hold it above shoulder height. Check the listed weight and, if possible, lift the tool in your usual working position. A front-heavy drill can tire your wrist during overhead work, even if its total weight seems reasonable. Balance matters.
Compare vibration ratings for the tasks you expect to do, such as drilling into concrete or light chiseling. Lower figures can indicate less vibration, but they do not remove exposure or replace sensible work breaks. Read the manual and use suitable protective equipment. The side handle should lock firmly and adjust to a position that keeps your wrist straight. Try changing its angle with gloves on. I sometimes overlook that small detail, and it can make setup awkward.
Tips: Grip the side handle with both hands, keep your footing stable, and stop if the tool starts to feel difficult to control. Check that the handle is secure before each job. A short test on a scrap surface can reveal uncomfortable vibration or poor balance.

